REVIEWING THE FUNNEL BUILDER
In today's training we are going to build out a funnel using the following three steps starting with building the form.
The first step is creating the landing page where someone can come and claim an offer. The second is the "next step" page (which is choose a day and time for your consultation by using the online booking widget). And the last step is the thank you page.
BUILDING THE FORM
On the navigation bar on the left hand side, click on Marketing > Form Builder > Create New Form.
You should now see a blank canvas with widgets on the right hand side where you can drag and drop onto the canvas.

You can fully customize this form by clicking on Fields, Style, and Options on the right hand side above the widgets.
Once you have finished editing your form, go to the bottom right and click on the green "Integrate Form" button. From here, you can embed the link or grab the URL.

Use the URL to view what it will look like in your web browser.

BUILDING THE FUNNEL
On the navigation bar on the left hand side, click on Settings > Domain > Add New Domain.
CONTINUE EXPLAINING THE DOMAIN (IS IT OPTIONAL?)
On the navigation bar on the left hand side, click on Funnels > New Funnel. Next, you'll want to name your funnel.
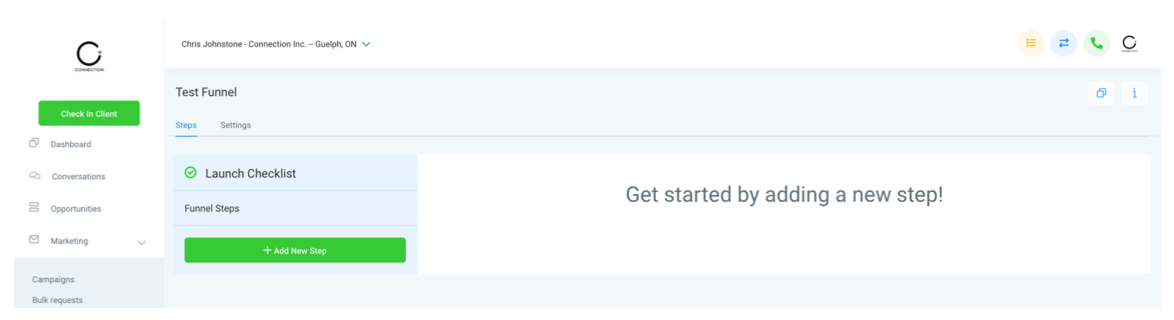
Inside settings, you can further customize your Funnel by adding in a domain, favicon, or custom codes.
Now we are going to create our first page. Keep in mind whatever you put under "Path" is what will show up at the end of your domain.
For today's example, we are using the URL [INSERTURLWEAREUSING]/page1.

Once you're ready to start building out your page, click on "Customize" and get started! Once the page opens up, you will see the drag and drop builder that should feel familiar if you are use to using other landing page builders.
First, I'm going to click on "Full Width" as my header. If you wish to add color in your header, scroll down to background color and select the color you wish to add.
Next you'll click "Add Row" inside the header. For today's training purposes, we'll use "1 Column" and then click on "Add Element." Here is where you can add in an imagine. Customize it as you please by using the features on the left hand side.

Next, we'll add in another "Section" and we are going to select "2 Column this time." You are able to further customize this section by adding in a background image or you can keep a solid color.
For the first column, we are going to add in a headline, sub-headline, and our form builder that we created in step one.
Obviously, if this were an actual landing page we would add in more content below the fold, but for the purpose of this training we are going to keep it simple.
Click on preview up at the top to view your page your just built.

Make sure you save your page and go back to the main Funnel page. Now we'll click on "Add New Step." This step will be our thank you page.

First, I'm going to click on "Full Width" as my header. If you wish to add color in your header, scroll down to background color and select the color you wish to add.
Next you'll click "Add Row" inside the header. For today's training purposes, we'll use "1 Column" and then click on "Add Element." Here is where you can add in an imagine. Customize it as you please by using the features on the left hand side.
Then we will add another "Section," select "1 Column" again, and then add a headline. Then we can embed our calendar so someone can book right in.
In a new tab, go into Connect My Leads account, head over to settings, click on Appointment Widget, and grab your Calendar HTML code. To embed your calendar click on Elements, Add Elements, Custom JS/HTML, and add in your Calendar HTML code.
Click save and you've finished building out your thank you page!
Now what we want to do is set the re-direct to this page from the previous form. Grab the URL from the thank you page and take it back to your form settings (Marketing > Form Builder > Options > On Submit > Enter in URL > Integrate Form > Save & Exit).
The form you built inside of Form Builders will be re-direct to the second page of the form we built inside the Funnels tab.
Now we need to build our final page.
Go back into Funnels > Add New Step > Name the Funnel > Create Funnel Step > Edit Page.
Re-build your header as you previously did then add in a new section.
This last page is your thank you page. You can embed a video on this page if you would like or just keep it simple with a thank you message and your contact information.

Be sure to save your page once complete.
Copy the URL from the thank you page you just created and set this as the redirect page inside your Calendar.
Go to Settings > Calendars > Edit the Calendar you've built for this specific event > Add the URL into the Thank You Redirect URL.

Now that you have completed all the steps, you can go to the original URL that you created and go through the steps to ensure everything is exactly how you want it to look and that the booking widget is booking events in your calendar correctly.